Anki is nothing else than traditional flashcards? This is definitely WRONG. In this post, I’ll show you a feature that allows you to create incredibly effective cards. With Anki’s Image Occlusion add-on, you can hide and show individual elements on images. Read on for a simple tutorial on how to use it.
In a nutshell
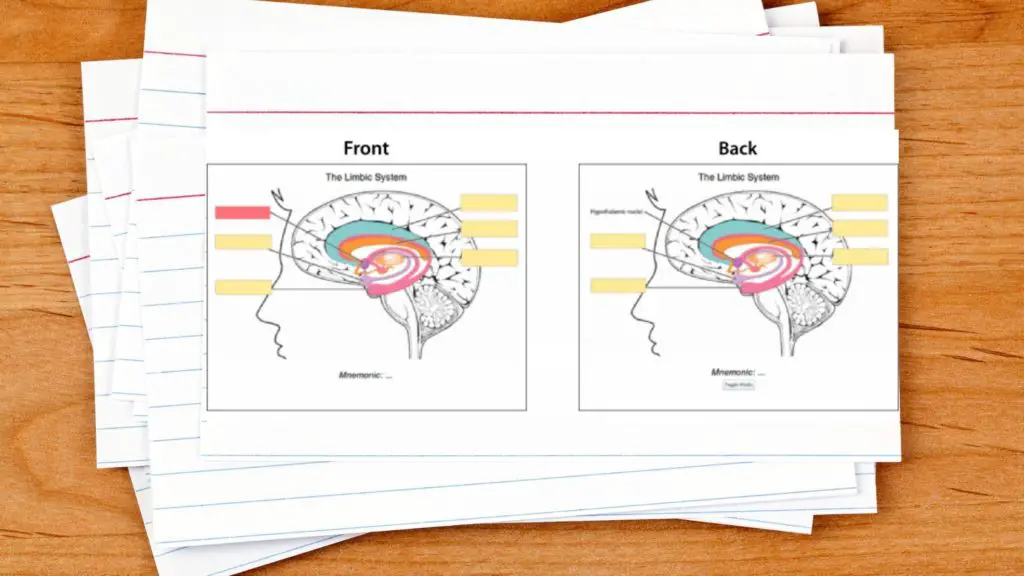
With Image Occlusion, you can hide and query specific information on images. To do this, simply upload an image, hide certain information with shapes, group certain elements if necessary, and then create your flashcards with one click.
In this article, I’ll show you step-by-step how to download the extension and easily create extremely effective flashcards. Here is an overview for you:
What is Image Occlusion?
Gluatinimate’s (well-known Anki developer) Image Occlusion Enhanced add-on lets you create cards that hide parts of images to test your knowledge of this hidden information. So with the add-on, you can create and learn cloze texts on images.
Download the Add-on
To add this functionality in Anki, you first need to download the extension. This is very easy to do:
- Just go to the Image Occlusion add-on page and copy the blue framed download code from there. Or take it directly from here (Download-Code: 1374772155)
- Then click in Anki on Tools > Add-ons
- Select “Download add-on”
- Paste the download code here and click on “Ok
- Restart Anki
Congratulations 🥳 You now have a whole new way to learn with Anki.
Note: The add-on is officially still a test version. However, to a large extent, it works perfectly. If you still encounter a bug, you can report it here directly to the developer.
By the way: If you like to work with pictures in Anki, you might be also interested in this article. Here you will learn how to add images to your Anki cards and notes quickly and easily: Adding Images in Anki – The 3 Best Ways
How it works
The add-on adds another option in the card editor. If you click on it, you get directly to the edit mode. Here you can upload images, cover different areas and create multiple cards automatically.
In the next section, I will explain how to do this exactly
When is Image Occlusion most beneficial?
Basically, you can use the feature for almost all topics. Be it mathematical formulas, languages, biology or chemistry. Everywhere you can hide certain elements to query them.
However, Image Occlusion is probably most valuable in medical studies, or more precisely in anatomy. Remembering the entire structure of the human (animal in the case of veterinary medicine) body is a great challenge.
It is of great advantage to link the information with images (more possibilities to work with images). If you then hide individual elements, learning becomes even more effective.
How to Create Anki Cards with Image Occlusion?
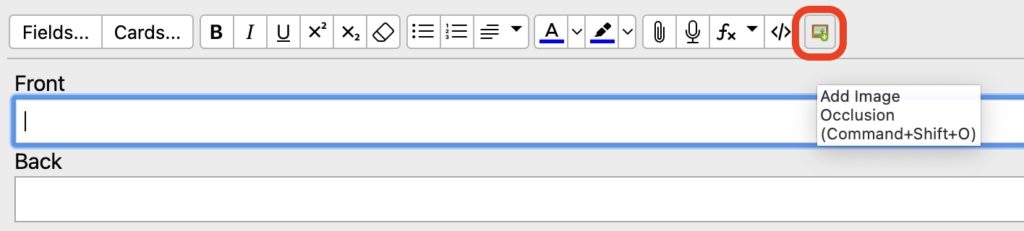
Once you have downloaded the add-on and restarted Anki, a new option (usually on the far right) will be added to the card editing interface.
You can find it either by clicking on “Add” from the home screen or by selecting a card in the browser. Clicking on the icon will take you to the Image Occlusion editing mode.
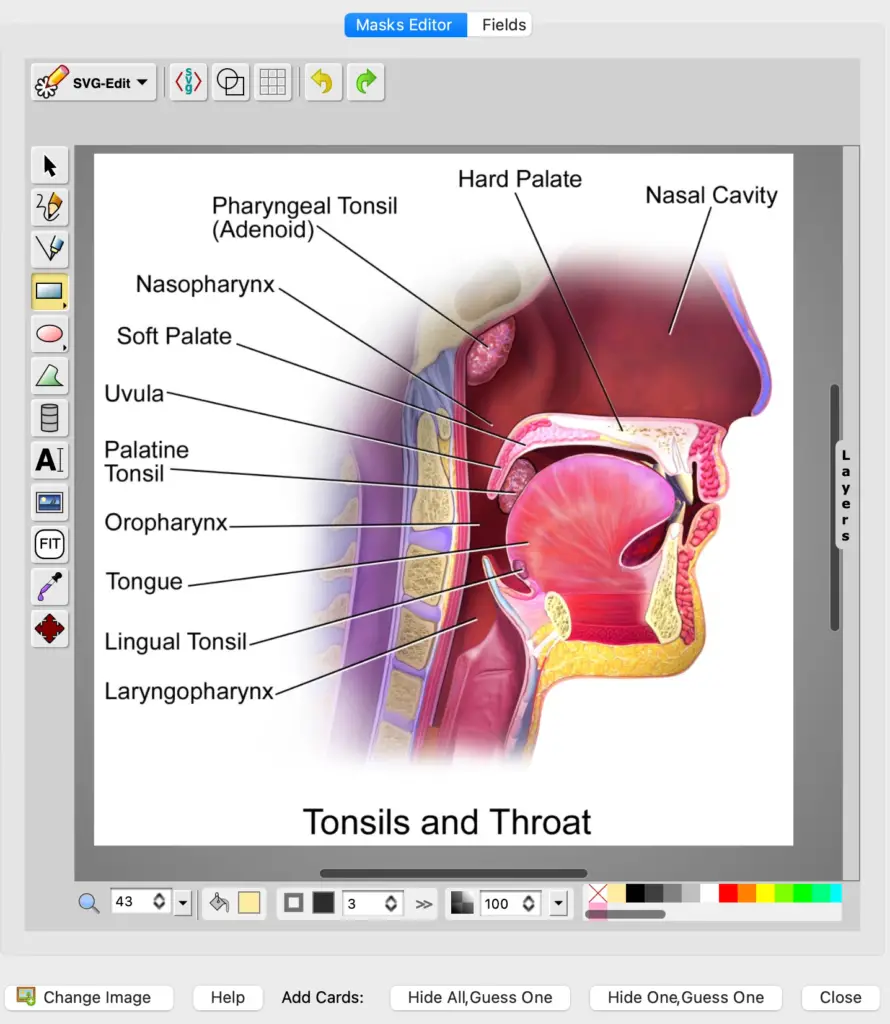
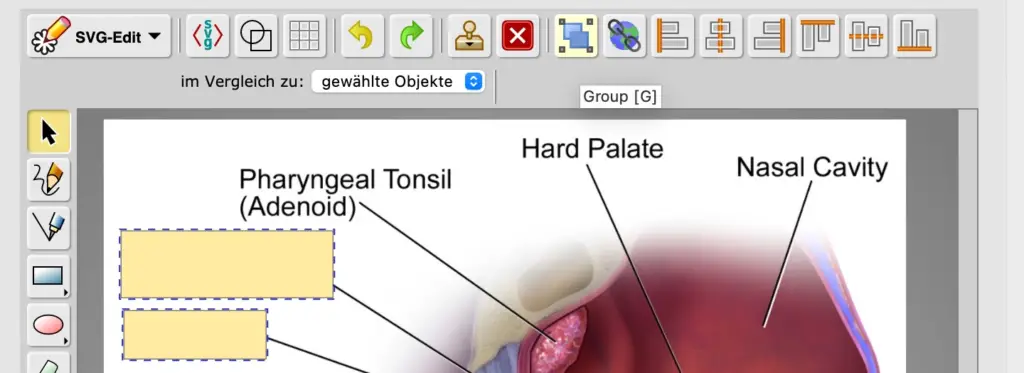
Image Occlusion editing mode
The user interface offers some functions for image editing. However, in this post, we will mainly look at the functions with which you can hide areas. In addition, you can also:
- Adjust colors
- Add more images
- Draw lines and shapes
- Label the images additionally
- And some more
In most cases, you will need shapes to hide elements. Therefore we will concentrate on this.
Create Cards with Hidden Areas (Step-by-Step Guide)
Follow this step-by-step guide to easily create one or more cards from an image that asks for different information.
1. Add an image
Of course, you need an image first. You can either add it from your files or from the clipboard to the editing interface.
Tip: If you have an image in the clipboard, it will be inserted automatically as soon as you open the edit mode.
2. Hide areas
You now have several options to hide elements:
- Rectangle (key “R”) – Rectangular shape
- Ellipse (key “E”) – elliptical shape
- Path (key “P”) – free shape
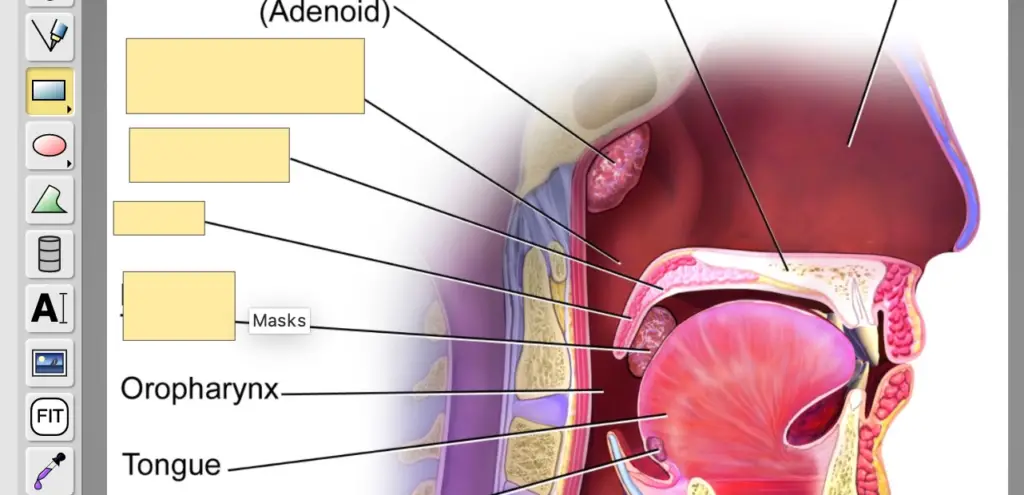
You can select these and use them to create shapes with the mouse, just like in Microsoft Word. Later you can create a card for each individual shape. Therefore it is better to hide each piece of information separately because then you can query them individually.
Warning: Actions performed in Image Occlusion’s edit mode cannot be easily undone, so you should double-check your changes before applying them.
Grouping elements
If two or more pieces of information belong together on an image, but you can’t cover them with a shape, there is also an option to group the shapes.
This way they will be treated as one shape in the map creation and will be hidden or revealed together.
To do this, simply click on the individual elements with the Shift key held down (or drag a selection box over them with the mouse). Then select the “Group” option in the top menu or simply tap the “g” key.
The elements are now grouped.
3. Generate Cards with one click
When you have created all the shapes and covered the areas you wanted to cover, you can now easily create cards.

You have two options for this, which you can see on the button in the bottom bar:
- Hide All, Guess One: This option creates one card per shape used. All areas are hidden and only one area at a time is revealed while learning.
- Hide one, Guess One: This option creates one card per shape used. Here, only one area at a time is hidden and will be revealed during learning. The others are visible.
Attention: Every click on one of the buttons automatically creates new cards. You will not be asked again.
If you have followed the instructions, you should now have new very effective learning cards 🎉
Further options in the edit mode
At the top of the edit mode, you should see two tabs: Mask Editor & Fields. If you click Fields, you can add additional information to the cards in fields:
- Header: text that is placed above the image.
- Footer: text that appears below the image
- Remarks: notes that appear when you turn the card over.
- Sources: Sources that appear when you flip the card.
- Extra 1: Extra text that appears when you turn the card over.
- Extra 2: Extra text that appears when you turn the card over.
Here you can also add tags to the cards or change the deck again.
Editing existing cards
You can also edit existing cards and adjust the shapes and fields. To do this, simply go to the card management as usual.
Important: Please do not change any of the following fields when you are in the browser or in the editing window of Anki:
- ID (hidden)
- Question mask
- Answer mask
- Original mask
Changes to these fields could destroy your notes and/or make them uneditable.
Learning with Image Occlusion
Once you have created all the cards, you can then learn them as usual. If you have flipped a card to see the answer, there is a new button here: “Toggle Masks”.
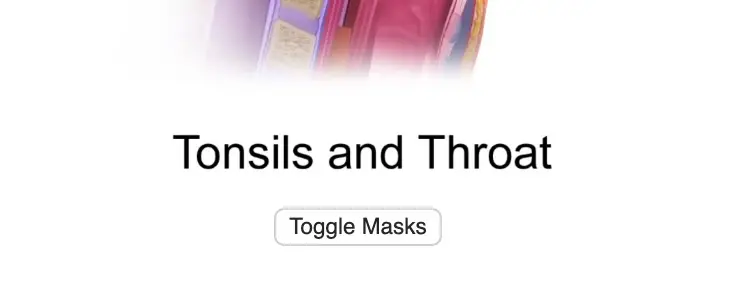
With this, you can show and hide all other hidden areas on the flipped card. Since this feature is there, I would recommend you always create your cards with the Hide all, guess one option.
This increases the difficulty and if you are unsure you can still show the other information. This way, learning with Image Occlusion is extremely effective.
If you are also interested in other ways to learn effectively with Anki, you should check out this article: Learning Effectively with Anki.
Images with hidden information – A smart way to learn
The fact that you are reading this article shows that you want to be smart in your learning and take advantage of the technical possibilities Anki offers. And you will see: Image Occlusion is an extremely effective and smart way to learn information.
I hope I could help you with this article. Keep it up!
Study smart, not hard 🎓