Pictures can make learning with flashcards much easier and more fun. Especially visual learners remember things better and faster with images. In this post, we will show you 3 simple ways to add images to your cards in Anki.
In a nutshell
- With Copy & Paste or Drag & Drop, you can intuitively add images to cards/notes.
- If you have a large number of cards, you can use the Batch Download Pictures From Google Images addon to automatically add pictures.
- With the Media Import addon, you can quickly create new cards from an image folder.
As so often with Anki, the tricks can be a bit complicated at first. Therefore, you will find step-by-step instructions and examples In this post.
1. Copy and Paste & more
Anki is very intuitive when it comes to adding images. The well-proven tools Copy & Paste and Drag & Drop work very well. So if you want to add a matching image to a card, you can:
- Drag and drop images from your file folder into the desired field.
- Copy and paste images from the internet (e.g. Google Images).
- Attach files like pictures via the card menu.
Important: Anki sometimes has problems with certain image files. To be on the safe side, you should use only JPGs and PNGs if possible.
My process – step by step
If you just want to add an image to a few cards spontaneously, I would recommend you copy the images from Google. How to add images to many cards at once, we will see in part 2.
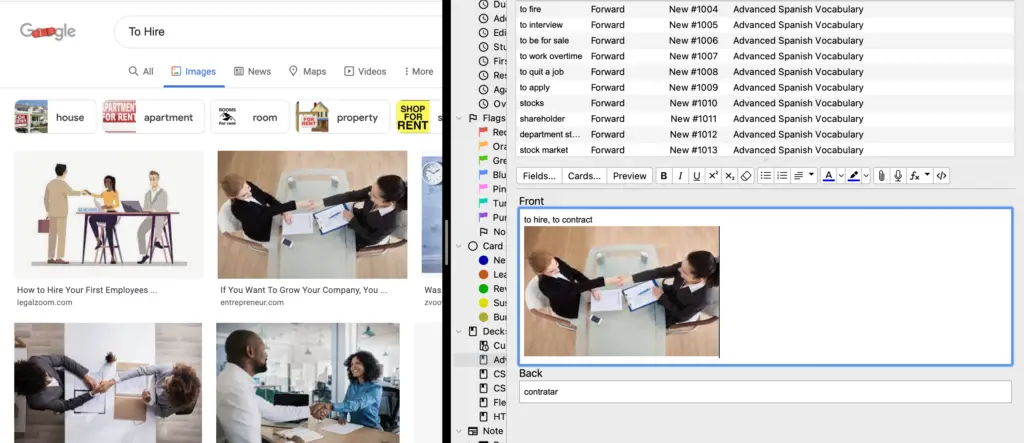
- Open the Anki card and Google Images in parallel
- Search in Google for the matching word
- Select an image and copy it
- Paste the image in the desired field
Important: Images in Anki are displayed in their original size. You have no possibility to change the height or width (without an additional addon). Therefore, it is best to copy the thumbnails from Google. This is even faster!
This way, you can very quickly find the matching images for the respective cards. In the card browser, you can also quickly add images to several cards and notes.
Tip: The best and fastest way for me is not to copy the images themselves, but to take a screenshot of them. This way you can also control the size of the image or use only parts of an image.
2. Add pictures in bulk with an Add-on
With the addon “Batch Download Pictures From Google Images“, you can automatically add pictures to many cards in one go. As the name suggests, the add-on takes images from Google.
I’ll show you how to add pictures to a vocabulary deck with 1000+ cards very fast:
Step-by-step guide
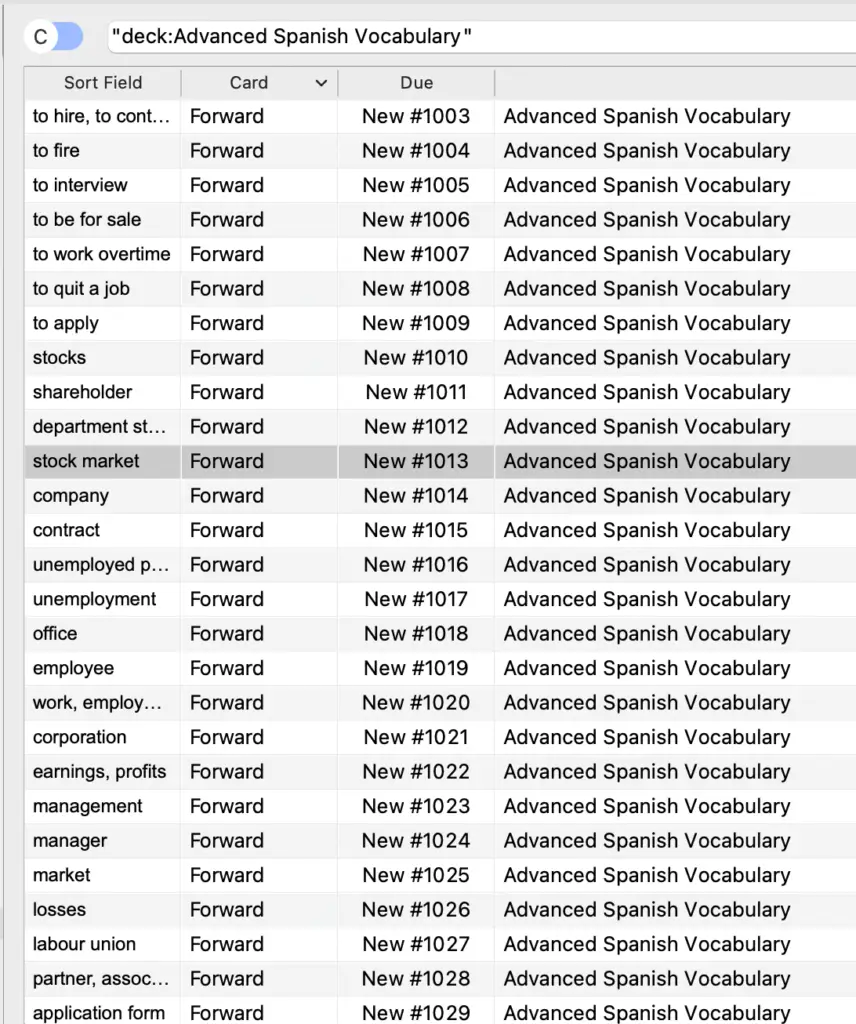
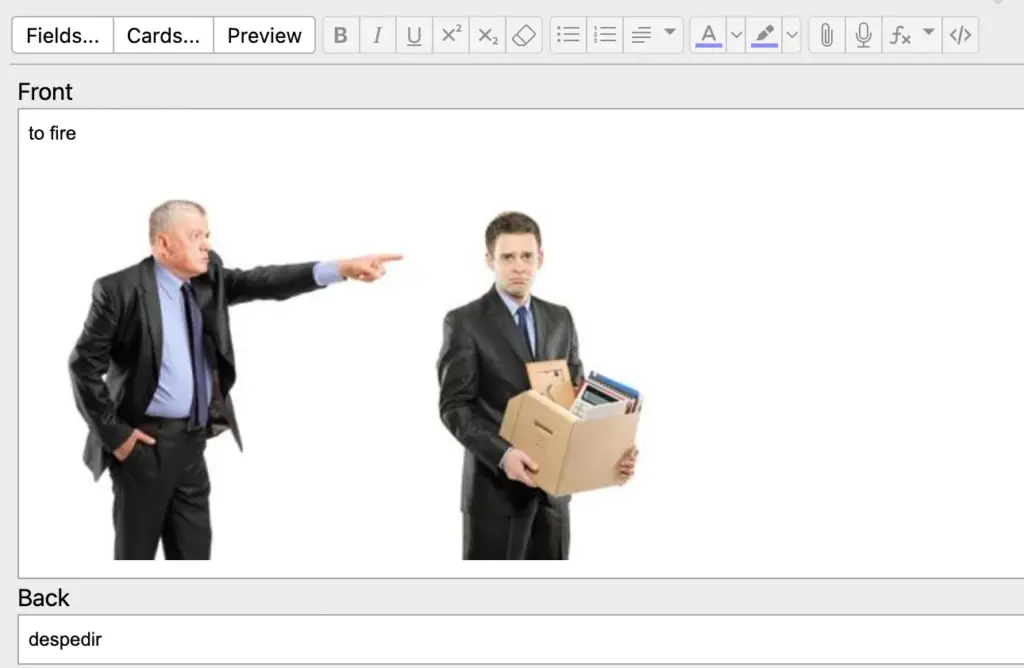
I have a new Spanish deck with many vocabulary cards. The front side contains mostly just 1-3 words. Since I learn better with pictures, I want to show one in addition to the words which are already on the front side.
Important: The extension takes the first picture you find on Google for the selected field. Therefore, with more complex texts, the images may not fit well. Simple cards like vocabulary are best suited.
1. I download the extension “Batch Download Pictures From Google Images“
2. In the card browser, I select all cards in the deck (“Ctrl-a” or “cmd-a”).
Note: with very many cards at once, Anki may crash or it may take a very long time. The program has to do a Google search for each card. I would therefore recommend you to select max. 100 cards at once.
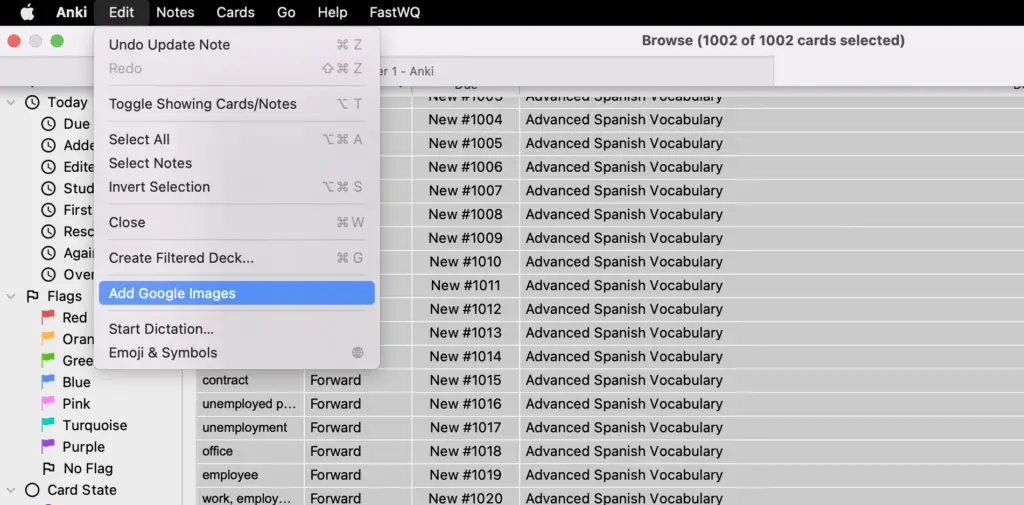
3. I click on “Edit” and select “Add Google Images”.
4. Now a window opens
Tip: The window looks complicated only at first sight. Actually, only 3 fields are important here:
- Source Field: Decides the field for which text is searched for images in Google.
- Target Field: Decides to which field the image should be added.
- If not empty: decides what happens if the target field is not empty, but e.g. already contains the text. (Skip = Then no image, Overwrite = Replace previous content, Append = Append image to content).
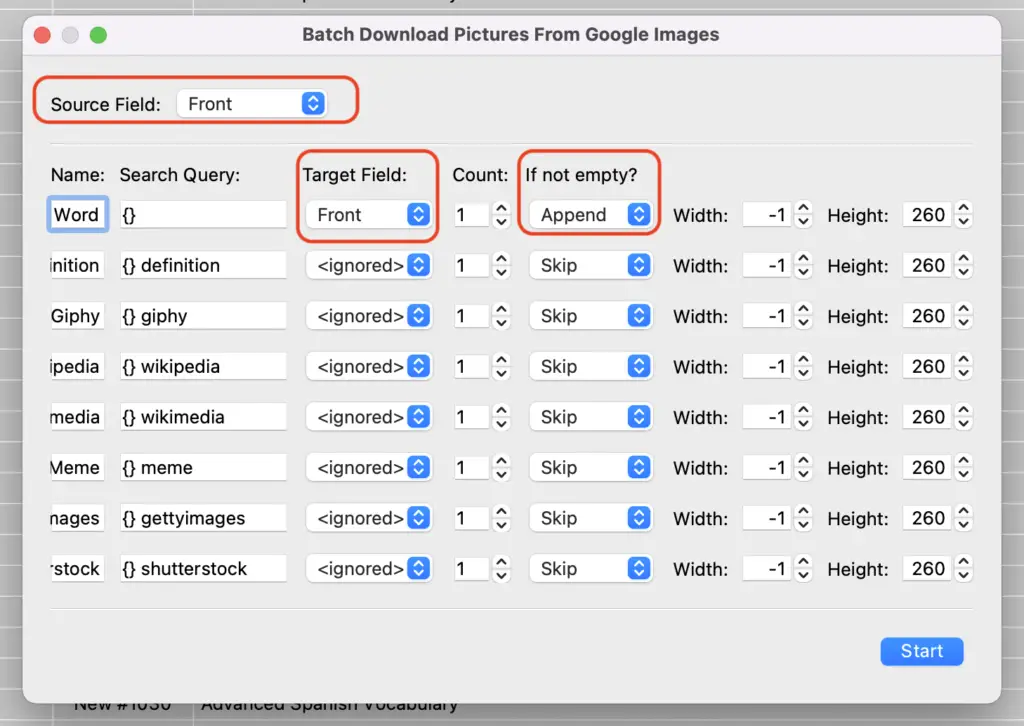
5. Because I want to keep the text and additionally have an image I choose “Append”. The image should be on the front page.
6. I click on Start
7. I check if the images are to my satisfaction. Sometimes you will want to change the images. For this, you can simply follow the instructions from part 1.
Important: If you have appended the images, they will be displayed in the same line. If you want to have the images below the text, unfortunately, you have to add a paragraph manually.
I was able to add images to all of my 1000+ Spanish vocabulary deck this way and am really happy with the result. The whole process took me about 30 minutes including the time for the paragraphs (append) and some adjustments.
I hope the tutorial helps you!
3. Automatically convert images to cards
The third way has a different approach from the previous ones. In this case, you should not have created any cards yet. The goal here is to quickly and easily generate flashcards from existing images.
For this, you need again an addon called “Media Import“. The addon works as follows:
- You have a folder with images for which you want to create new flashcards.
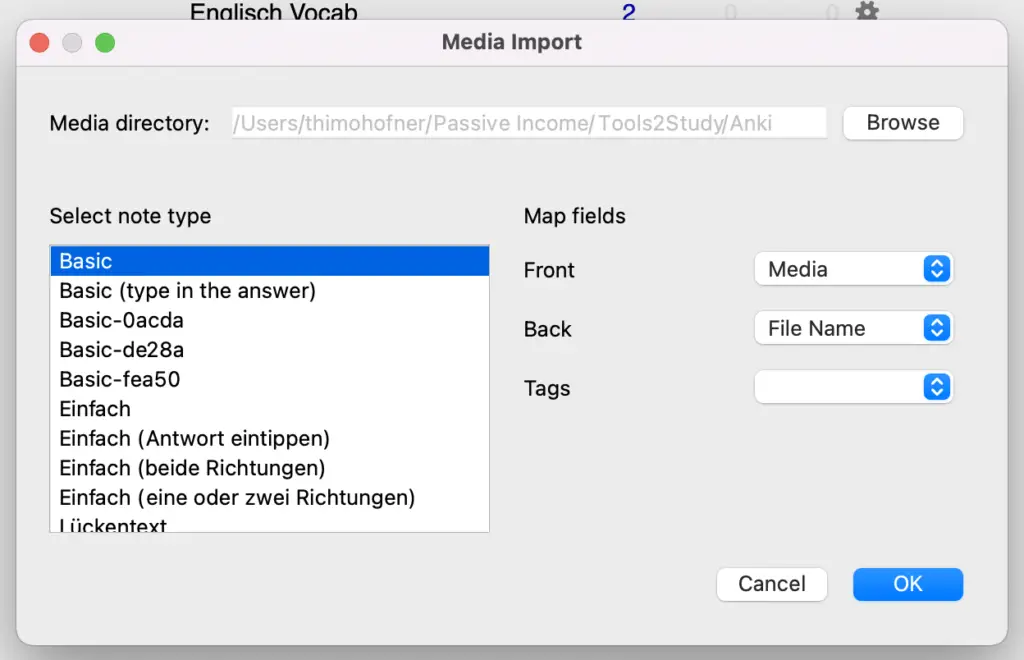
- In Anki, you click on Tools > Media Import
- In the next window, you select the images folder as the media source.
- On the left side, you choose the note type you want your cards to have (Basic for simple front/back cards)
- Finally, you determine in which field the image (media) should be displayed. On the other side, you can display the filename (filename.jpg) for example.
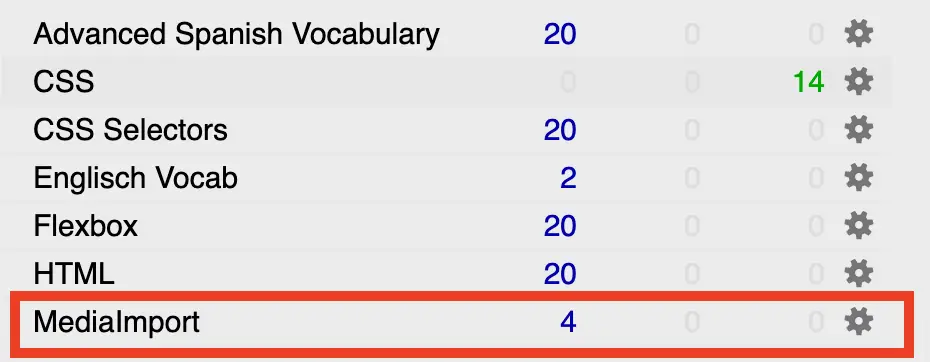
- Click on “Ok” and a new deck called Media Import will be created automatically from the selected images.
Tip: You should choose the names of the image files before Media Import so that you don’t have to edit the cards later. For example, with the Spanish vocabulary “apple” I would name my image file Manzana.jpg.
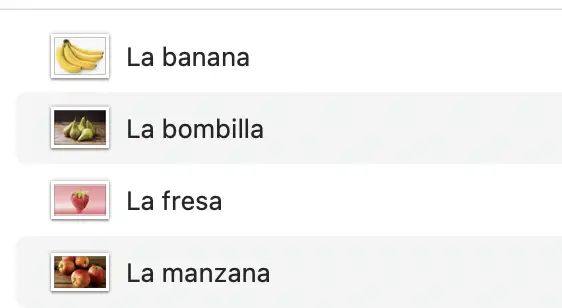
Example import
I want to learn the Spanish vocabulary for fruit. For this, I have a folder with pictures of fruits.
1. I adjust the names of the files
2. I go to Media Import (Tools > Media Imprt) in Anki
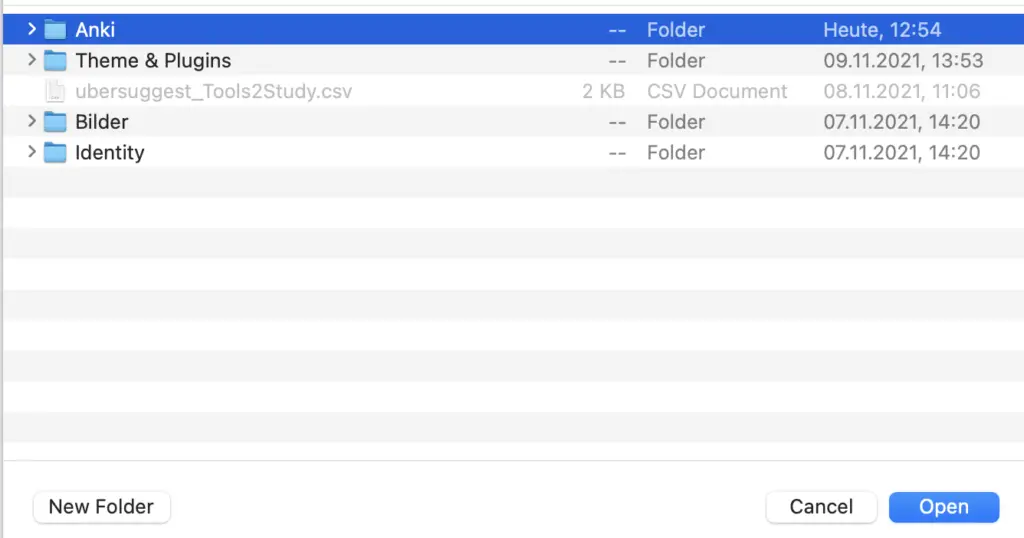
3. I select the folder with the fruit pictures
4. I choose the Note Type Basic
5. I select the fields so that the picture is in front and the file name is in the back
6. I click on “Ok”
7. I change the name of the new deck
Done! Now I have created the cards and can learn the vocabulary.
Tip: This method is especially efficient for adding pictures if you already have a picture folder (e.g. from a download). If you have to create it first, I would advise you to use one of the first 2 methods.
Where are the files stored on your computer?
A big advantage with Anki is that the pictures you add are saved automatically. This makes it easy to copy and move images between cards and simplifies moving to other devices.
But where exactly are the files stored on your computer? You will find all media files in a folder called collections.media. The location is a bit hidden. Usually, you can find the folder here:
- Windows: my documents > Anki2 > your username > collections.media.
- Mac: Library > Application Support > Anki 2 > your username > collections.media.
- If you have problems finding the location, you can also click on Tools > Extensions > View Files in Anki. This will take you directly to the right folder
Hide parts of images with Image Occlusion
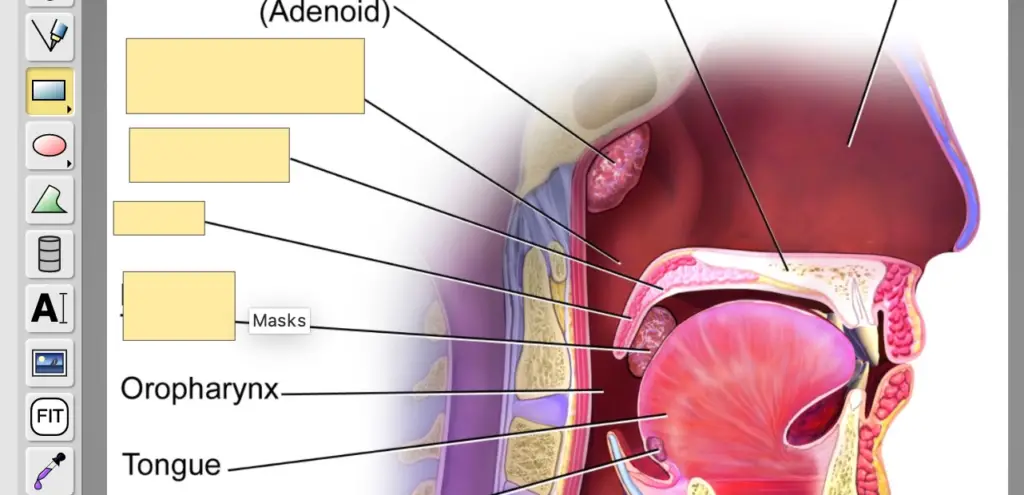
If you like working with images in Anki, you should definitely check out the Image Occlusion Enhanced add-on from Gluatinimate.
With it, you can create cards that hide parts of images to put your knowledge of this hidden information to the test. So with the extension you can create and learn cloze texts on images.
This can be extremely helpful in many cases. Be it mathematical formulas, languages, biology or chemistry. Everywhere you can hide certain elements to query them.
However, Image Occlusion is probably most valuable in the study of medicine, and more specifically in anatomy. Remembering the entire structure of the human (animal in the case of veterinary medicine) body is a major challenge.
I have already written a separate article on how to use Image Occlusion in Anki if you are interested.
Images – a big advantage of Anki over traditional flashcards
Most people can remember pictures better than words. This has been scientifically proven several times. In this article, you will find a good summary on this.
So if we don’t link one word with another, but a word with an image, we are more likely to remember it.
For this reason, I would recommend that you work with images on your flashcards where possible. You will find that learning will be easier and you will perform better at best.
You learned how to add cards quickly and effectively in this post.
In Anki, you can add visual elements super fast compared to traditional cards. If you’re still working with old-fashioned flashcards, you’d either have to be able to draw very well and quickly, or you’d have to spend ages looking for pictures, printing them out, and gluing them on.
That simply costs too much time. But since you searched for this article, I assume that you are wise and want to learn even better and smarter with images on your Anki cards. So keep it up!
Study smart, not hard 🎓