Notion is a powerful tool for note-taking and productivity. Whether you use it for work, study, or just for personal use. Over time, a lot of valuable content and data accumulate in your Notion workspace. The question is: How can you back up and restore your data in Notion?
In this post, I’ll show you 7 different ways to back up your content in Notion.
First for a quick answer:
Backup your Notion workspace with an export:
- Click on “Settings & Members” in the left sidebar
- Click on “Settings” in the window
- Navigate to the “Export all Workspace Content” item
- Choose your export format and click on “Export”
- You will receive an email with the download link
This is only one of 6 ways to back up and restore your data in Notion. You can find more details and all the instructions in this post. Let’s go!
Why are backups important in Notion?
Now you might be asking yourself: if the data in Notion is stored in the cloud anyway, why should I backup it additionally?
The answer is simple. Even in the cloud, something can go wrong and then you can’t do anything. You have no control over it. If you have valuable content and data stored in Notion that you don’t want to lose, you should back it up.
But of course, the cloud also has its advantages. Notion has recently added some features to recover deleted data:
- Page History ( in Free Plan 7 days)
- Restore from trash
- Backup copies from Notion servers
How is Notion data structured?
Before we get into the different methods of backing up Notion, it is important to understand the data structure of Notion. Notion uses a block structure that makes it easy to create and organize content.
Each block can contain text, images, tables, and other types of content. Blocks can also be linked together to create a relationship between them. This flexible data structure makes Notion a powerful tool, but it can also be complicated to save your data.
By the way: There are already solutions to save your Notion setup automatically. But these are not directly integrated in Notion. With 3-party tools like notionbackups.com, you can even back up your Notion workspace automatically.
Backup and restore data in Notion – 6 ways
There are several methods for backing up Notion. Some of them are standard features of Notion and others work only with the help of third-party tools.
1. Export your entire workspace
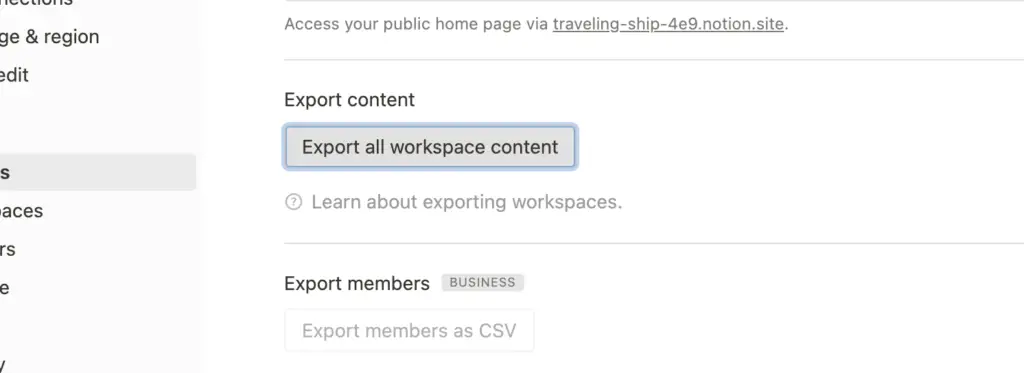
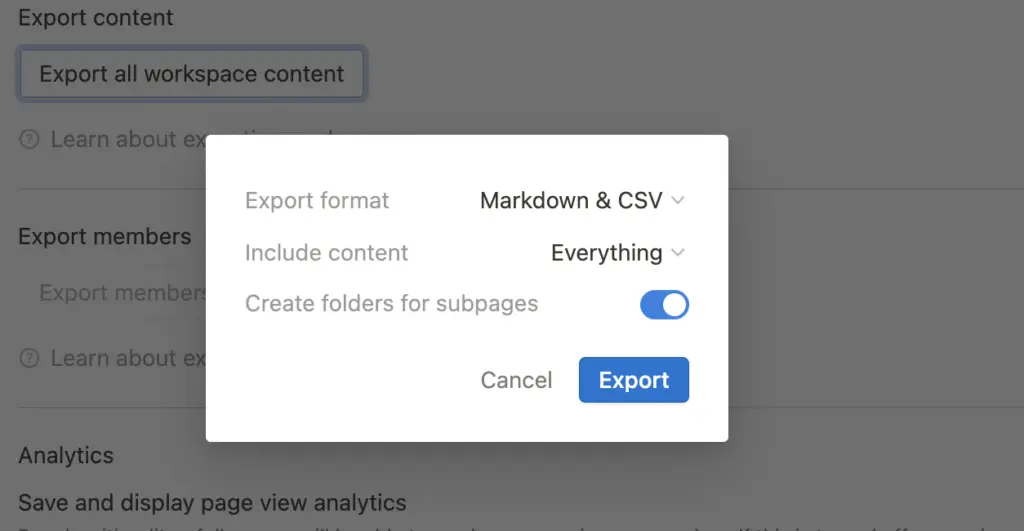
Notion offers the possibility to download your entire workspace. This contains all your pages with the entire content. For the export, you have the choice between the file formats Markdown and CSV, HTML or PDF (only available with the paid Business Plan).
Instructions for Workspace Export:
- Click on “Settings & Members” in the left sidebar
- Click on “Settings” in the window
- Navigate to “Export all Workspace Content”
- Choose your export format and click on “Export”
- You will receive an email with the download link
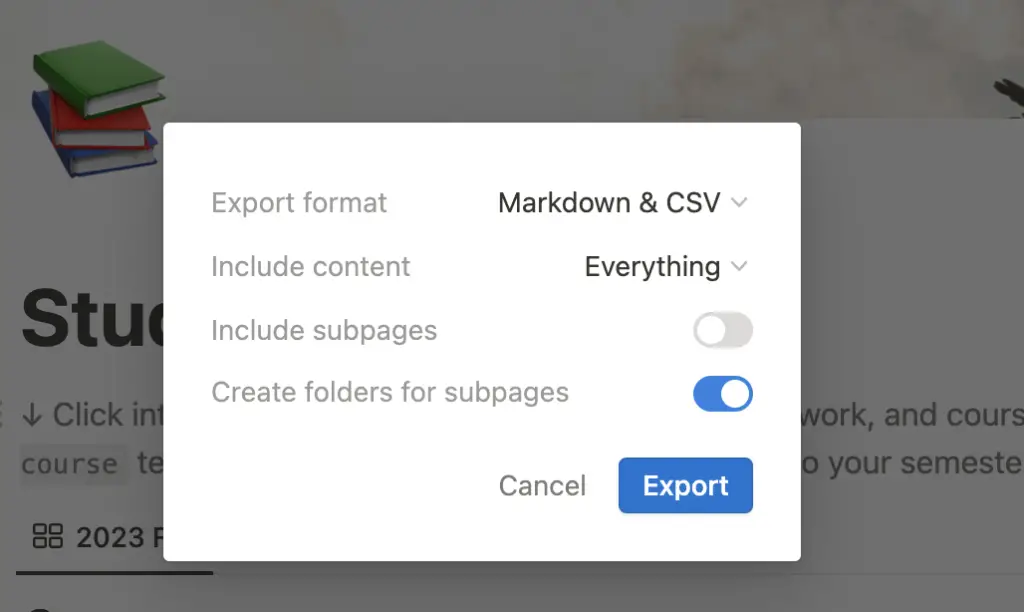
2. Exporting a page as PDF, Markdown or HTML
You can export a Notion page as PDF, Markdown or HTML to create a backup copy.
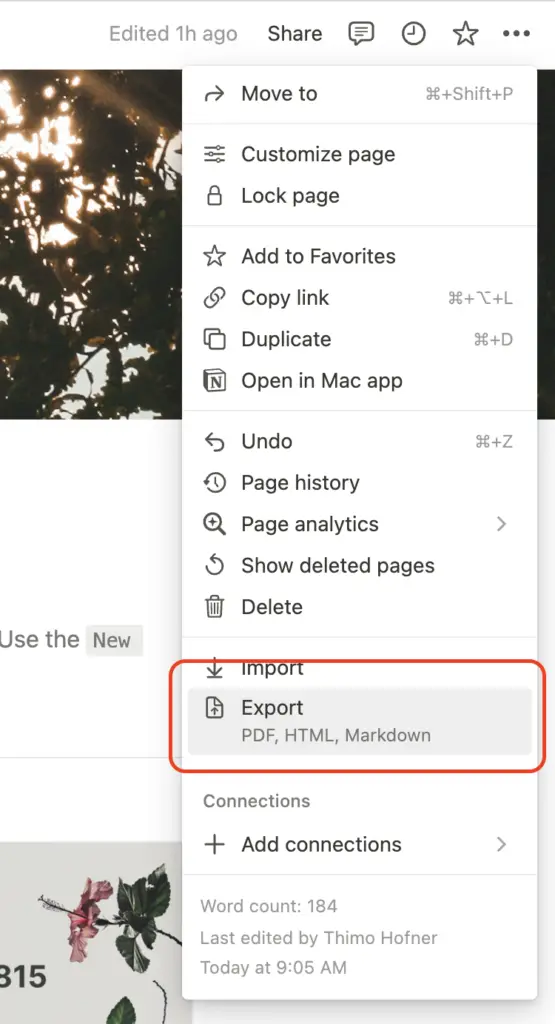
Instructions for page export
- Go to the page you want to export.
- Click on the three dots in the upper right corner of the screen.
- Select “Export” from the drop-down menu.
- Choose your file format.
- Notion will then create a file that you can download and save.
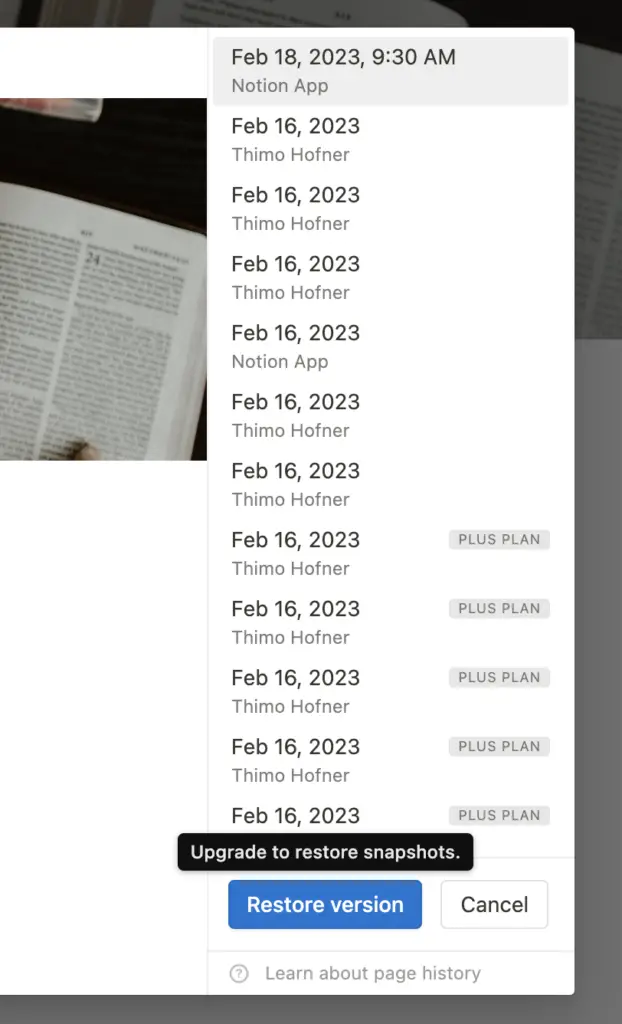
3. Restore your data from the page history
Notion automatically saves the history of each page, so you can undo changes and restore previous versions at any time.
This helps you during editing. With the “Undo-Button” (or CMD + z or CTRL + z) you can always undo actions quickly.
With the page history, you can also restore much earlier page versions. Which options you have depends on your Notion Plan:
- Free: 7 days
- Plus: 30 days
- Business: 90 days
- Enterprise: Unlimited
By the way: Here you can learn more about the difference between the Plus and Business Plan of Notion.
And this is how you get to the page history:
- Navigate to the page you want to restore an old version of
- Click on the 3 dots in the upper right corner
- Navigate to the item “Page History”
- Select the version you want to restore.
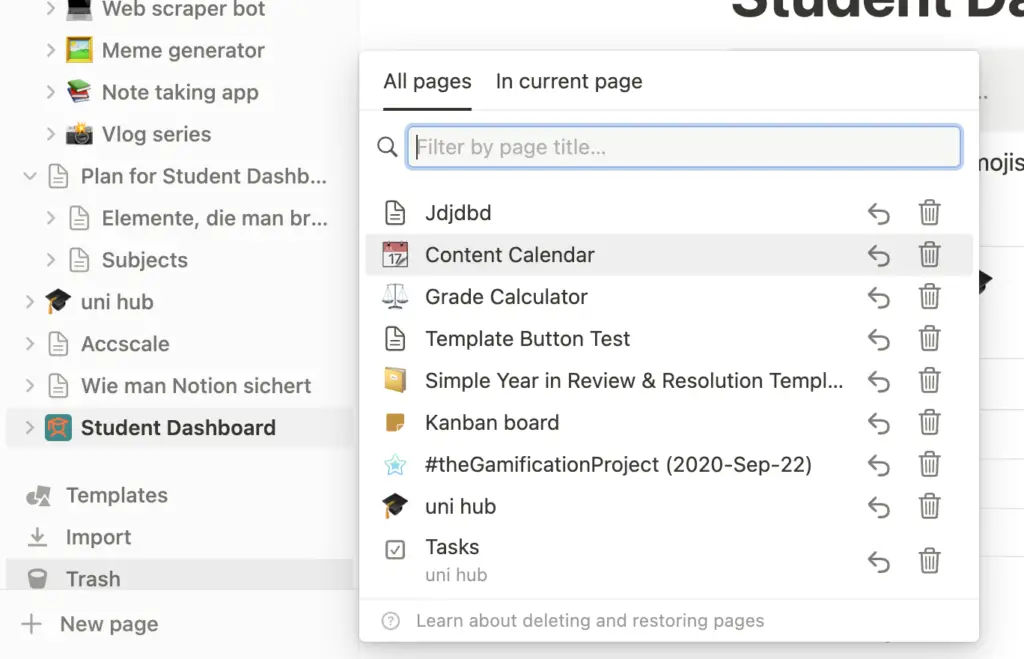
4. Restore from the trash
If you accidentally deleted a page or a database, you can restore it from the trash. The trash serves as an archive and keeps your deleted content.
How to recover deleted pages – instructions:
- Navigate to the trash. You will find it at the bottom of the left sidebar.
- Search for the desired page.
- Restore it by clicking on the arrow.
5. Restore accidentally deleted content
The trash allows you to actually delete content. Because this option is right next to the restore option, it is easy to delete content accidentally. But don’t worry. There is also a way to recover this content:
No matter if you accidentally deleted a page, a workspace or even your whole account, Notion can help you.
Because Notion saves a 30-day backup copy of all content. To get this, you have to contact Notion directly.
You can either:
- Send a mail to team@makenotion.com
- Or you can contact the support directly via the “?”-icon in Notion
6. Automated backups with 3rd party tools
There are also 3rd party tools that you can use to automatically backup your Notion data to services like Google Drive, Dropbox or OneDrive.
One of the most popular options is Zapier which allows you to automatically back up your Notion data to other services.
In addition to backing up individual databases, there are also services that make an automated backup copy of your entire workspace. Currently, there are two tools I know of for this purpose:
notionbackups.com: for $9 per month you can back up your entire workspace in Notion automatically and since recently also restore it.
You can choose between Google Drive, Dorpbox or AWS.

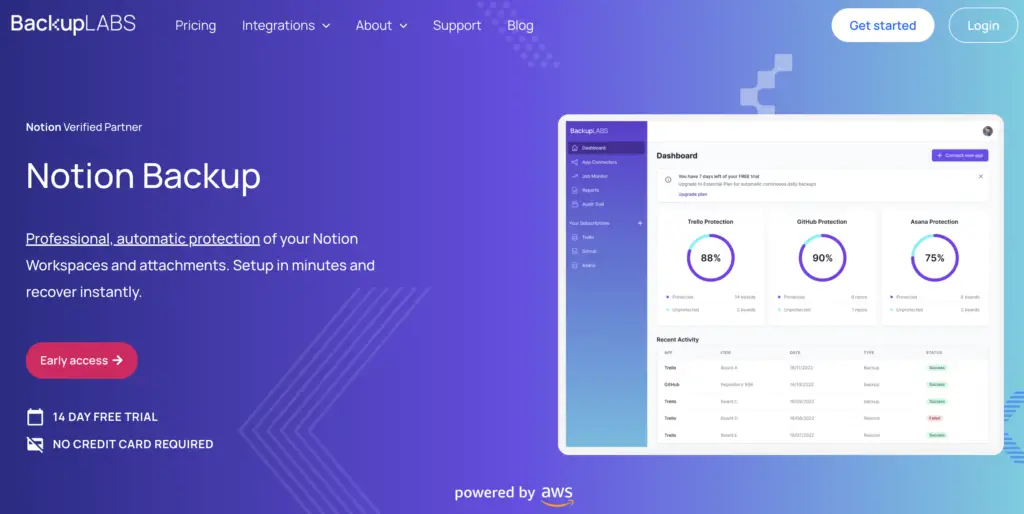
backuplabs.io: with only one workspace, the service costs just $3.20 per month. You can also make automatic backups here and restore them.
With backuplabs.io, you can’t store your workspace on Google Drive or Dropbox. The only option at the moment is AWS.
Best practices for backing up Notion
When you are reading this post, the security of your data in Notion is important. I’ve shown you some of the options for backing up and restoring your data.
But there are also best practices you should follow:
1. Back up your data regularly
Depending on how often you use Notion, you should back up your data at least once a month or more often if you make frequent changes.
This will help you avoid potential data loss if something happens to your Notion account.
2. Keep your backups organized
Backups are only useful if you can find and restore them. It is important to keep your backup files organized so that you can easily find them when you need them.
Most importantly, remember to name your backups clearly so that you can still see what they are later.
3. Test your backups
It’s a good idea to test your backups regularly to make sure they are working properly.
This will give you peace of mind that you have a working backup in case of data loss.
With the right steps, your data is safe
Backing up your Notion data is an important step in protecting your information. Whether you use the built-in export and restore features or a third-party tool, it’s important to have a plan to keep your data safe.
Especially if there’s no way you can handle a data loss, I would recommend you look into the tools from the last point. With an automated backup, you don’t have to worry.
I am sure that Notion itself will add more backup features in the future. It is worthwhile to follow the latest updates of Notion.
I hope I could help you with this article. Thanks a lot if you have read this far!
Study smart, not hard 🎓

